All credit goes to François Beerten from https://colabti.org and his awesome IRC Logger 2 project (https://colabti.org/ilogger2/IrcLogger2.html) |
||
|---|---|---|
| .build | ||
| .github | ||
| assets | ||
| config | ||
| content | ||
| content-sample | ||
| lib | ||
| plugins | ||
| themes | ||
| .gitattributes | ||
| .gitignore | ||
| .htaccess | ||
| .phpcs.xml | ||
| .phpdoc.xml | ||
| .travis.yml | ||
| CHANGELOG.md | ||
| CONTRIBUTING.md | ||
| LICENSE.md | ||
| README.md | ||
| composer.json | ||
| index.php | ||
| index.php.dist | ||
README.md
Pico


Pico is a stupidly simple, blazing fast, flat file CMS.
Visit us at http://picocms.org/ and see http://picocms.org/about/ for more info.
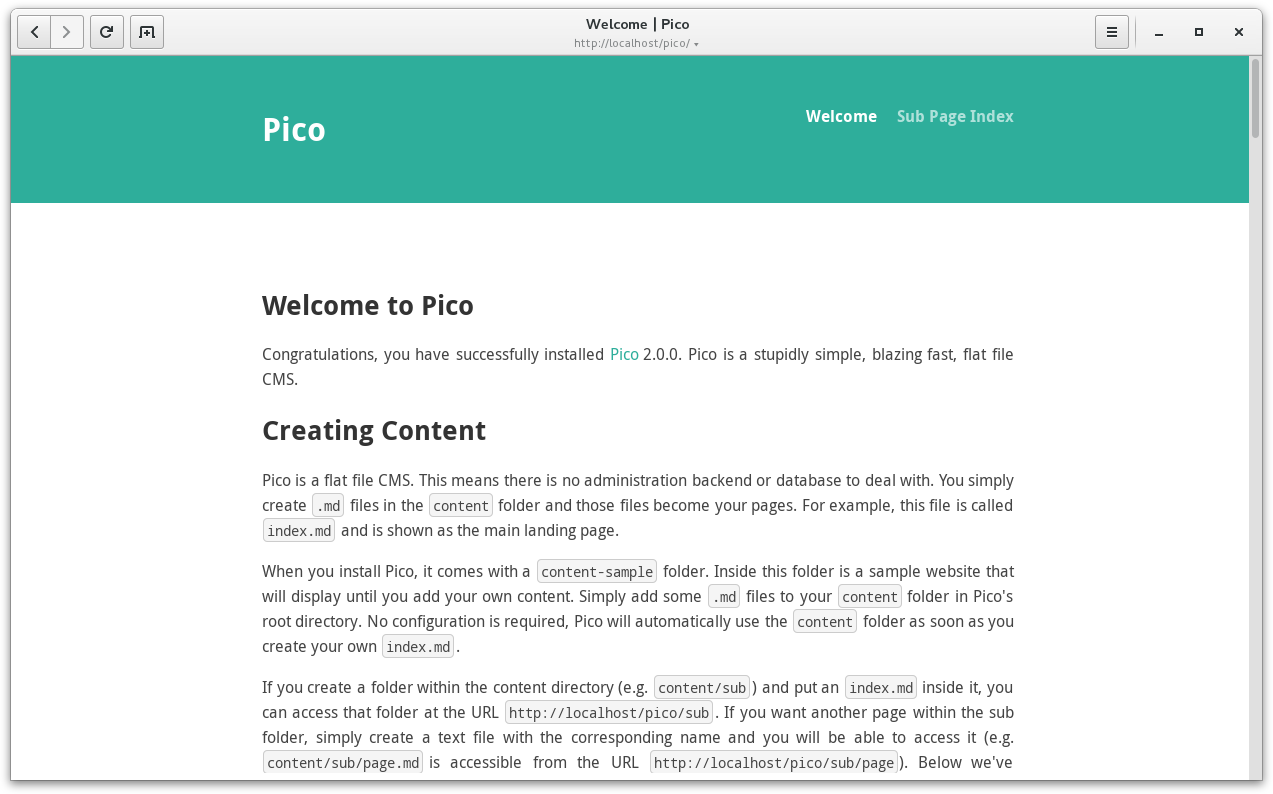
Screenshot
Install
Installing Pico is dead simple - and done in seconds! If you have access to a shell on your server (i.e. SSH access), we recommend using Composer. If not, use a pre-bundled release. If you don't know what "SSH access" is, head over to the pre-bundled release. 😇
Pico requires PHP 5.3.6+
I want to use Composer
Starting with Pico 2.0 we recommend installing Pico using Composer whenever possible. Trust us, you won't regret it when it comes to upgrading Pico! Anyway, if you don't want to use Composer, or if you simply can't use Composer because you don't have access to a shell on your server, don't despair, installing Pico using a pre-bundled release is still easier than everything you know!
Step 1
Open a shell and navigate to the httpdocs directory (e.g. /var/www/html) of your server. Download Composer and run it with the create-project option to install it to the desired directory (e.g. /var/www/html/pico):
$ curl -sSL https://getcomposer.org/installer | php
$ php composer.phar create-project picocms/pico-composer pico
Step 2
What second step? There's no second step. That's it! Open your favorite web browser and navigate to your brand new, stupidly simple, blazing fast, flat file CMS! Pico's sample contents will explain how to create your own contents. 😊
I want to use a pre-bundled release
Do you know the feeling: You want to install a new website, so you upload all files of your favorite CMS and run the setup script - just to find out that you forgot about creating the SQL database first? Later the setup script tells you that the file permissions are wrong. Heck, what does this even mean? Forget about it, Pico is different!
Step 1
Download the latest Pico release and upload all files to the desired install directory of Pico within the httpdocs directory (e.g. /var/www/html/pico) of your server.
Step 2
Okay, here's the catch: There's no catch. That's it! Open your favorite web browser and navigate to your brand new, stupidly simple, blazing fast, flat file CMS! Pico's sample contents will explain how to create your own contents. 😊
I'm a developer
So, you're one of these amazing folks making all of this possible? We love you guys! As a developer we recommend you to clone Pico's Git repository as well as the Git repositories of Pico's default theme and the PicoDeprecated plugin. You can set up your workspace using Pico's Composer starter project and include all of Pico's components using local packages.
Using Pico's Git repositories is different from using one of the installation methods elucidated above. It gives you the current development version of Pico, what is likely unstable and not ready for production use!
-
Open a shell and navigate to the desired directory of Pico's development workspace within the
httpdocsdirectory (e.g./var/www/html/pico) of your server. Download and extract Pico's Composer starter project into theworkspacedirectory:$ curl -sSL https://github.com/picocms/pico-composer/archive/master.tar.gz | tar xz $ mv pico-composer-master workspace -
Clone the Git repositories of all Pico components (Pico's core, Pico's default theme and the
PicoDeprecatedplugin) into thecomponentsdirectory:$ mkdir components $ git clone https://github.com/picocms/Pico.git components/pico $ git clone https://github.com/picocms/pico-theme.git components/pico-theme $ git clone https://github.com/picocms/pico-deprecated.git components/pico-deprecated -
Instruct Composer to use the local Git repositories as replacement for the
picocms/pico(Pico's core),picocms/pico-theme(Pico's default theme) andpicocms/pico-deprecated(thePicoDeprecatedplugin) packages. Update thecomposer.jsonof your development workspace (i.e.workspace/composer.json) accordingly:{ "repositories": [ { "type": "path", "url": "../components/pico", "options": { "symlink": true } }, { "type": "path", "url": "../components/pico-theme", "options": { "symlink": true } }, { "type": "path", "url": "../components/pico-deprecated", "options": { "symlink": true } } ], "require": { "picocms/pico": "dev-master", "picocms/pico-theme": "dev-master", "picocms/pico-deprecated": "dev-master", "picocms/composer-installer": "^1.0" } } -
Download Composer and run it with the
installoption:$ curl -sSL https://getcomposer.org/installer | php $ php composer.phar --working-dir=workspace install
You can now open your web browser and navigate to Pico's development workspace. All changes you make to Pico's components will automatically be reflected in the development workspace.
By the way, you can also find all of Pico's components on Packagist.org: Pico's core, Pico's default theme, the PicoDeprecated plugin and Pico's Composer starter project.
Upgrade
Do you remember when you installed Pico? It was ingeniously simple, wasn't it? Upgrading Pico is no difference! The upgrade process differs depending on whether you used Composer or a pre-bundled release to install Pico. Please note that you should always create a backup of your Pico installation before upgrading!
Pico follows Semantic Versioning 2.0 and uses version numbers like MAJOR.MINOR.PATCH. When we update the PATCH version (e.g. 2.0.0 to 2.0.1), we made backwards-compatible bug fixes. If we change the MINOR version (e.g. 2.0 to 2.1), we added functionality in a backwards-compatible manner. Upgrading Pico is dead simple in both cases. Simply head over to the appropiate Upgrade sections below.
But wait, we forgot to mention what happens when we update the MAJOR version (e.g. 2.0 to 3.0). In this case we made incompatible API changes. We will then provide a appropriate upgrade tutorial, so please head over to the "Upgrade" page on our website.
I've used Composer to install Pico
Upgrading Pico is dead simple if you've used Composer to install Pico. Simply open a shell and navigate to Pico's install directory within the httpdocs directory (e.g. /var/www/html/pico) of your server. You can now upgrade Pico using just a single command:
$ php composer.phar update
That's it! Composer will automatically update Pico and all plugins and themes you've installed using Composer. Please make sure to manually update all plugins and themes you've installed manually.
I've used a pre-bundled release to install Pico
Okay, installing Pico was easy, but upgrading Pico is going to be hard, isn't it? I'm affraid I have to disappoint you... It's just as simple as installing Pico!
First you'll have to delete the vendor directory of your Pico installation (e.g. if you've installed Pico to /var/www/html/pico, delete /var/www/html/pico/vendor). Then download the latest Pico release and upload all files to your existing Pico installation directory. You will be prompted whether you want to overwrite files like index.php, .htaccess, ... - simply hit "Yes".
That's it! Now that Pico is up-to-date, you need to update all plugins and themes you've installed.
I'm a developer
As a developer you should know how to stay up-to-date... 😉 For the sake of completeness, if you want to upgrade Pico, simply open a shell and navigate to Pico's development workspace (e.g. /var/www/html/pico). Then pull the latest commits from the Git repositories of Pico's core, Pico's default theme and the PicoDeprecated plugin. Let Composer update your dependencies and you're ready to go.
$ git -C components/pico pull
$ git -C components/pico-theme pull
$ git -C components/pico-deprecated pull
$ php composer.phar --working-dir=workspace update
Getting Help
Getting Help as a user
If you want to get started using Pico, please refer to our user docs. Please read the upgrade notes if you want to upgrade from Pico 1.0 to Pico 2.0. You can find officially supported plugins and themes on our website. A greater choice of third-party plugins and themes can be found in our Wiki on the plugins or themes pages respectively. If you want to create your own plugin or theme, please refer to the "Getting Help as a developer" section below.
Getting Help as a developer
If you're a developer, please refer to the "Contributing" section below and our contribution guidelines. To get you started with creating a plugin or theme, please read the developer docs on our website.
You still need help or experience a problem with Pico?
When the docs can't answer your question, you can get help by joining us on #picocms on Freenode IRC (logs). When you're experiencing problems with Pico, please don't hesitate to create a new Issue on GitHub. Concerning problems with plugins or themes, please refer to the website of the developer of this plugin or theme.
Before creating a new Issue, please make sure the problem wasn't reported yet using GitHubs search engine. Please describe your issue as clear as possible and always include the Pico version you're using. Provided that you're using plugins, include a list of them too. We need information about the actual and expected behavior, the steps to reproduce the problem, and what steps you have taken to resolve the problem by yourself (i.e. your own troubleshooting).
Contributing
You want to contribute to Pico? We really appreciate that! You can help make Pico better by contributing code or reporting issues, but please take note of our contribution guidelines. In general you can contribute in three different areas:
-
Plugins & Themes: You're a plugin developer or theme designer? We love you guys! You can find tons of information about how to develop plugins and themes at http://picocms.org/development/. If you have created a plugin or theme, please add it to our Wiki, either on the plugins or themes page. You may also Submit it to our website, where it'll be displayed on the official plugin or theme pages!
-
Documentation: We always appreciate people improving our documentation. You can either improve the inline user docs or the more extensive user docs on our website. You can also improve the docs for plugin and theme developers. Simply fork our website's Git repository from https://github.com/picocms/picocms.github.io, change the Markdown files and open a pull request.
-
Pico's Core: The supreme discipline is to work on Pico's Core. Your contribution should help every Pico user to have a better experience with Pico. If this is the case, fork Pico from https://github.com/picocms/Pico and open a pull request. We look forward to your contribution!
By contributing to Pico, you accept and agree to the Developer Certificate of Origin for your present and future contributions submitted to Pico. Please refer to the "Developer Certificate of Origin" section in our CONTRIBUTING.md.
You don't have time to contribute code to Pico, but still want to "stand a coffee" for the ones who do? You can contribute monetary to Pico using Bountysource, a crowd funding website that focuses on individual issues and feature requests. Just refer to the "Bounties and Fundraisers" section below for more info.
Bounties and Fundraisers
Pico uses Bountysource to allow monetary contributions to the project. Bountysource is a crowd funding website that focuses on individual issues and feature requests in Open Source projects using micropayment. Users, or "Backers", can pledge money for fixing a specific issue, implementing new features, or developing a new plugin or theme. Open source software developers, or "Bounty Hunters", can then pick up and solve these tasks to earn the money.
Obviously this won't allow a developer to replace a full time job, it's rather aiming to "stand a coffee". However, it helps bringing users and developers closer together, and shows developers what users want and how much they care about certain things. Nevertheless you can still donate money to the project itself, as an easy way to say "Thank You" and to support Pico.
If you want to encourage developers to fix a specific issue or implement a feature, simply pledge a new bounty or back an existing one.
As a developer you can pick up a bounty by simply contributing to Pico (please refer to the "Contributing" section above). You don't have to be a official Pico Contributor! Pico is a Open Source project, anyone can open pull requests and claim bounties.
Official Pico Contributors won't claim bounties on their own behalf, Pico will never take any money out of Bountysource. All money collected by Pico is used to pledge new bounties or to support projects Pico depends on.